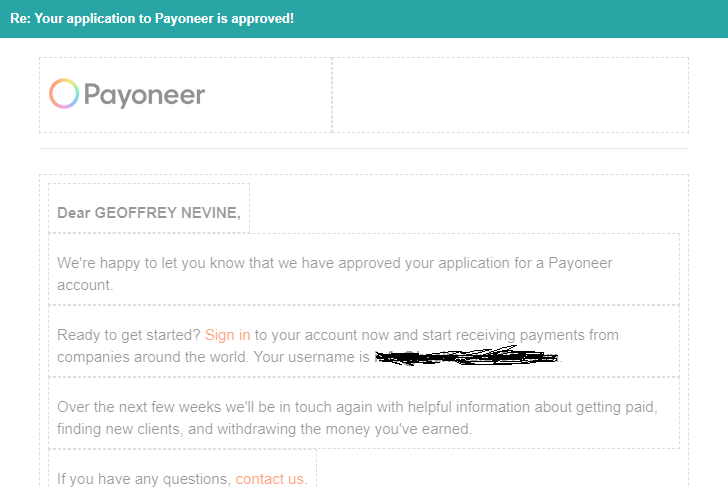
Verifying a Payoneer account can be both vexing and time-consuming. You must upload utility bills that show your residential address for your account to be approved.
However, Payoneer does not accept P.O. Box addresses. Yet most Kenyans receive their utility bills and letters through P.O. Box addresses.
If you upload documents showing a P.O. Box address, Payoneer will reject your account.
Find out what you can do in this dilemma and get your account Approved
Instantly.
If you are a Kenyan citizen, you know how we get our
letters, right! Through a Posta Address. Utility bills are sent to us through
these addresses. Some people might be having residential addresses, especially
those in well-planned affluent estates.
But most of us use P.O. Box addresses. Hence, utility bills
will have the P.O. Box addresses displayed. But Payoneer wants Residential
addresses. So you are forced to create Utility Bills that display a residential
address.
Legit or not, that’s the only way your Payoneer account will be verified unless they change their verification policies to allow P.O. Box Verification.
Details Needed To Open A Verified Payoneer Account
So here is how to get this done
Step 1: Choose Your Residential Address.
Visit Google Maps and Zoom in to your location (or any location
with labeled Roads)
Make sure the location has a well-labeled road which, if
searched on google maps, will be found.
Step 2: Compose Arbitrary Residential Address
Come up with an arbitrary address that follows Payoneer’s
billing address format:
- Address
Line 1
- Address
Line 2
- City/Town
- Postal/ZIP
Code
- Country
For Address Line 1, write down the Road.
For Address Line 2, write down an arbitrary apartment name
and room number.
For City/Town, write down the City or Town in which the Road
you chose exists.
For Zip Code, enter the city’s Zip Code, I.e., 00100
Lastly, for Country, Write Kenya
Step 3: Update Payoneer Billing Address
- Log
into your Payoneer Account
- Go to
Setting and select Profile Setting
- Scroll
Down to Address and Click on Edit.
- Input the address we have just generated as it is. Be careful not to make any spelling mistakes.
- Counter-check
and click on Save.
Step 4: Create the Utility Document or Buy one.
If you are computer savvy, you can start by searching and
downloading a Utility bill in PDF format from the internet. Then using an
application like Adobe Photoshop to edit it.
When editing the document, Ensure that the following.
- The
address you use matches the address you’ve created above. If your utility
bill address does not match the billing address EXACTLY, you
risk having your verification disapproved.
- The
name you use in the address matches your Payoneer address. If they don’t
match, you might not get verified.
- All
the dates indicated in the document must be within the last three months,
and they all must be coherent. Referring to the sample KPLC bill, if your
Date of Issue at the top and the Date due at the bottom are incoherent,
e.g., One is 2021, and the other Is 2017, your document will be declined.
- When
editing, ensure the fonts and colors you use match the document.
If you don’t have the editing software to make these
changes, you can pay a graphic designer to do it for you. The graphic designer,
though, ought to have sample utility bills to do so.
Step 5. Upload the Utility Bill on Payoneer
To upload your utility bill for verification
- Log
into your account
- Go to
Settings and Select Verification Center
- Go to
Address verification and Upload your Utility Document.
- Click
on Save/Submit
It normally takes 24-48 hours for documents to be verified
by Payoneer, so be patient.
Submit Your Required Documents Now
So, here’s how you can quickly and simply provide
documentation in order to continue using the Global Payment Service.
- Sign in to your Payoneer account
- Go
to Settings and then to Verification Center
- Click
on Account Verification and Provide Business
Details to see which documents you need to provide.
Conclusion
Payoneer serves many Kenyans who make money online. It
surprises me that the company hasn’t made any attempts to simplify its
verification process.
Checking online, I realized this problem also persists in
other countries such as Nigeria, Pakistan, and India, where there are many
online jobs workers.
So, cut yourself the slack of explaining to them and give
them what they want.
All the best.


